Maintaining a clean and efficient dryer vent cleaning is a crucial aspect of home ownership that often goes unnoticed. In this comprehensive guide, we walk you through the steps of cleaning your dryer vent like a pro, ensuring optimal performance, energy efficiency, and, most importantly, safety.
Gather Your Tools
Before embarking on the cleaning process, gather the necessary tools. You’ll need a vacuum cleaner with a narrow nozzle attachment, a screwdriver, a vent brush, and a dryer vent cleaning kit. Ensure that you have adequate lighting to inspect and reach all parts of the vent.
Disconnect the Dryer
Start by unplugging your dryer from the electrical outlet. If it’s a gas dryer, turn off the gas supply before proceeding. Carefully pull the dryer away from the wall to create ample space for vent access.
Remove the Vent Cover
Using a screwdriver, remove the screws securing the vent cover. Set the cover aside, and inspect it for any damage or debris. Cleaning the cover itself is often overlooked but is essential for proper ventilation.
Vacuum the Interior
With the vent cover removed, use the vacuum cleaner with a narrow nozzle attachment to remove loose debris from the interior of the vent. Reach as far as possible to ensure a thorough cleaning. This step is crucial in preventing loose lint from accumulating and causing future clogs.
Use the Vent Brush
Attach the vent brush to a flexible rod from your cleaning kit. Insert the brush into the vent and gently rotate it to dislodge any compacted lint. Move the brush back and forth to cover the entire length of the vent. This action helps break up and remove stubborn debris.
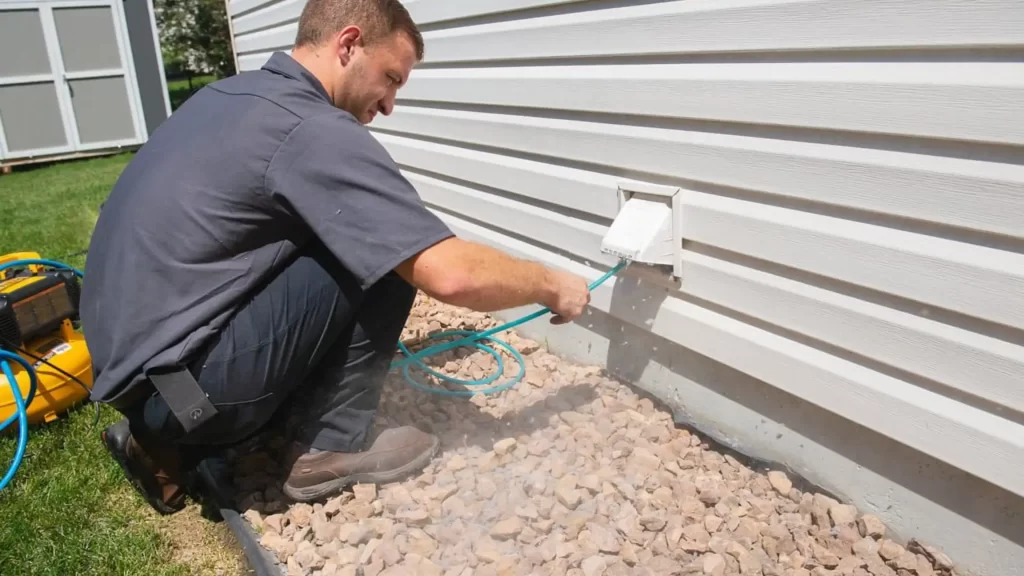
Clean the Exterior Vent
Vent cleaning is not limited to the interior; pay attention to the exterior vent as well. Remove any visible lint or debris by hand, and use the vacuum cleaner to clear the surrounding area. Ensure that the vent flaps can open and close freely.
Reassemble and Test
Reattach the vent cover securely with the screws. Push the dryer back into place and plug it back in. Turn on the dryer briefly to test its functionality. Monitor for any unusual noises or signs of inefficiency, which could indicate remaining obstructions.
Schedule Regular Maintenance
To maintain optimal performance, create a schedule for regular dryer vent cleaning. Depending on usage, aim for at least once a year. If you notice excessive lint accumulation or experience longer drying times, consider more frequent cleanings.
Conclusion: A Proactive Approach to Dryer Vent Maintenance
By following this step-by-step guide, you can clean your dryer vent cleaning like a pro, ensuring that your appliance operates efficiently and safely. Regular maintenance not only prolongs the life of your dryer but also minimizes the risk of fire hazards associated with clogged vents. Take charge of your home’s safety and efficiency by incorporating this simple yet impactful task into your routine maintenance regimen.
LEARN MORE
Why Professional Dryer Vent Cleaning is Essential for Home Safety
Maximizing Efficiency: How Clean Dryer Vents Save Energy and Money